Azure Marketplace UI Guide: Deploy Sparrow Community Edition
This guide walks you through deploying a virtual machine using the Sparrow Community Edition image from the Azure Marketplace via the Azure Portal.
Before you begin
Ensure you have:
- An active Azure subscription
- Access to the Azure Portal
Step-by-Step Instructions
1. Log in to Azure Portal
- Visit https://portal.azure.com
- Sign in with your credentials
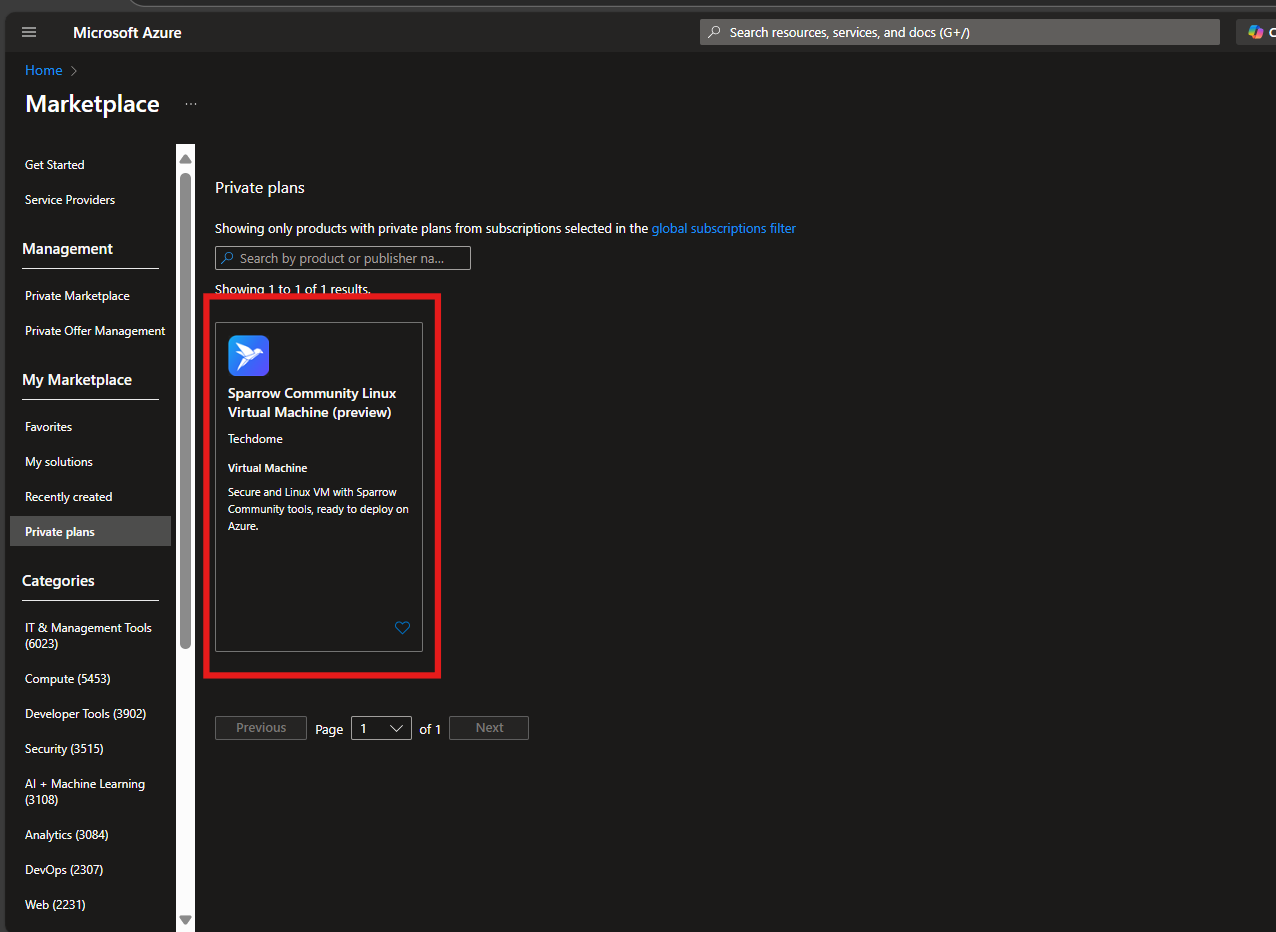
2. Locate SparrowCommunityEdition Image
-
Use the search bar to go to Marketplace.
-
Search for Sparrow Community Edition.
-
Select the appropriate image.
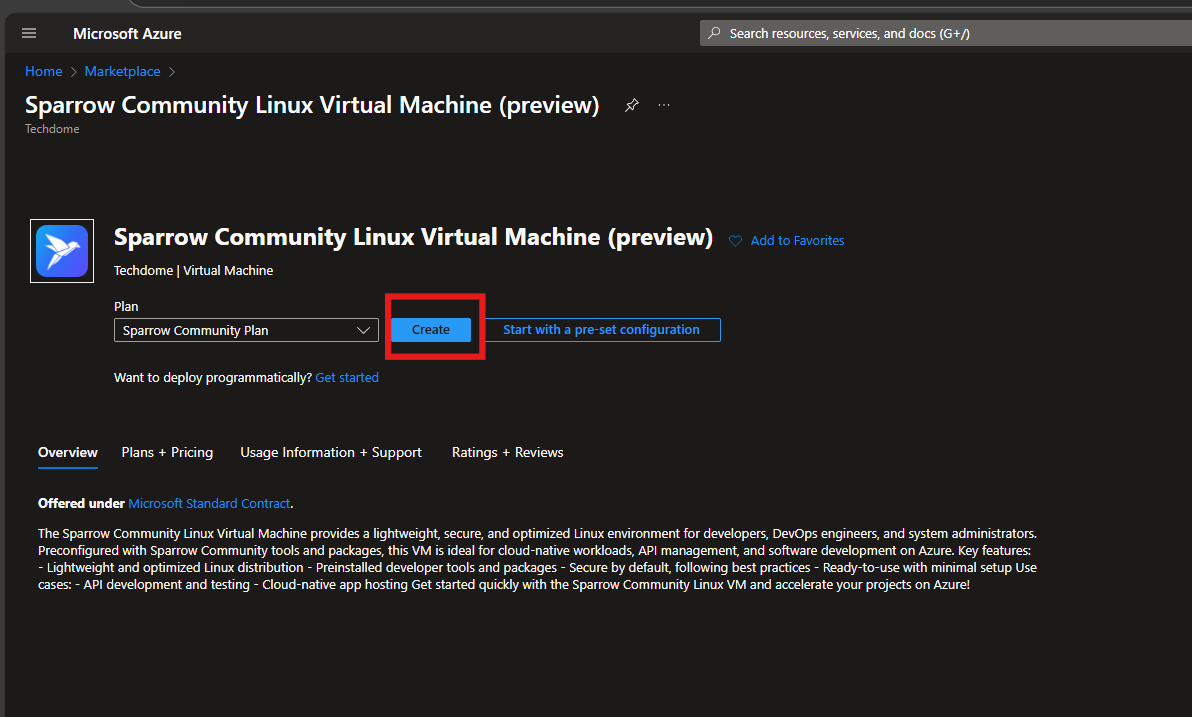
3. Start the Creation Wizard
-
Click on Create on the image page
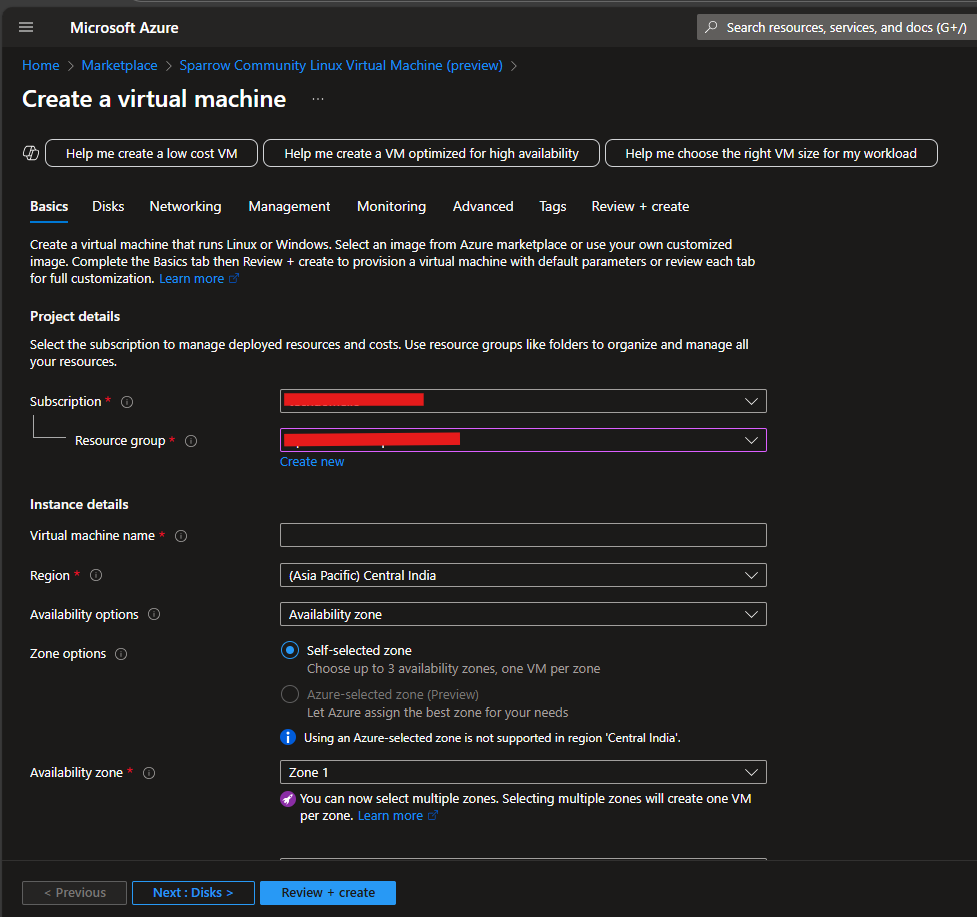
4. Configure Basic Settings
-
Subscription: Choose your Azure subscription
-
Resource Group: Select or create one
-
VM Name: e.g.,
SparrowVM -
Region: Choose a nearby Azure region
-
Image: Confirm it's SparrowCommunityEdition
-
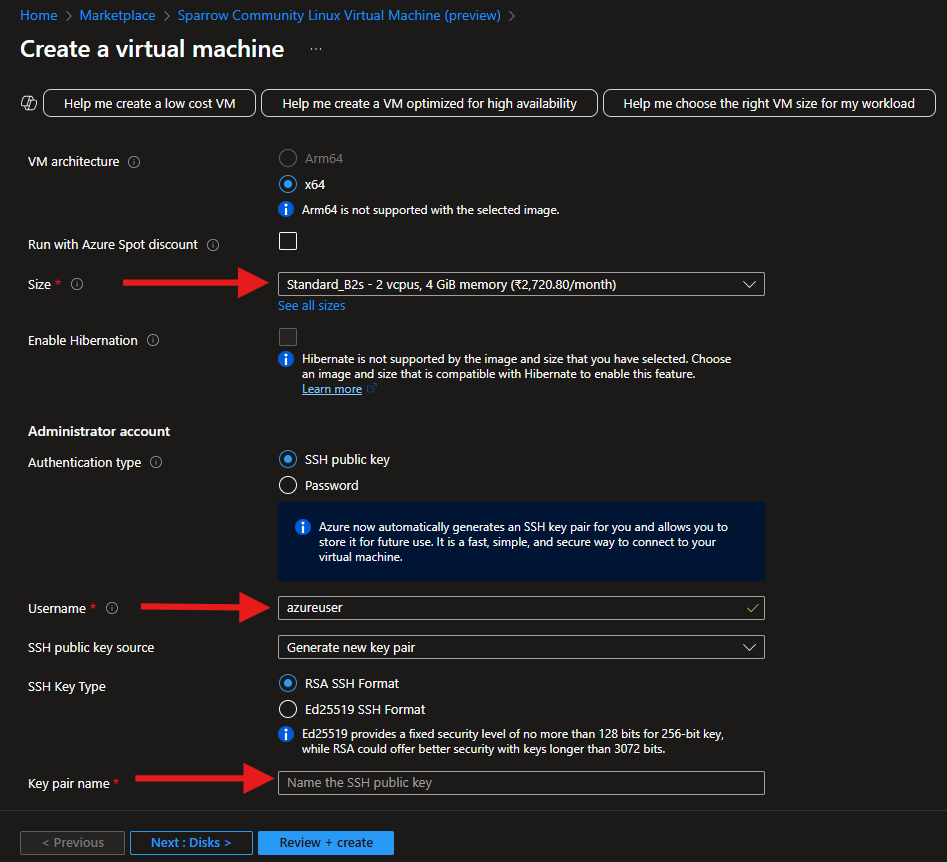
Size: Select a size like
Standard_B2s -
Authentication: Use SSH or password as preferred
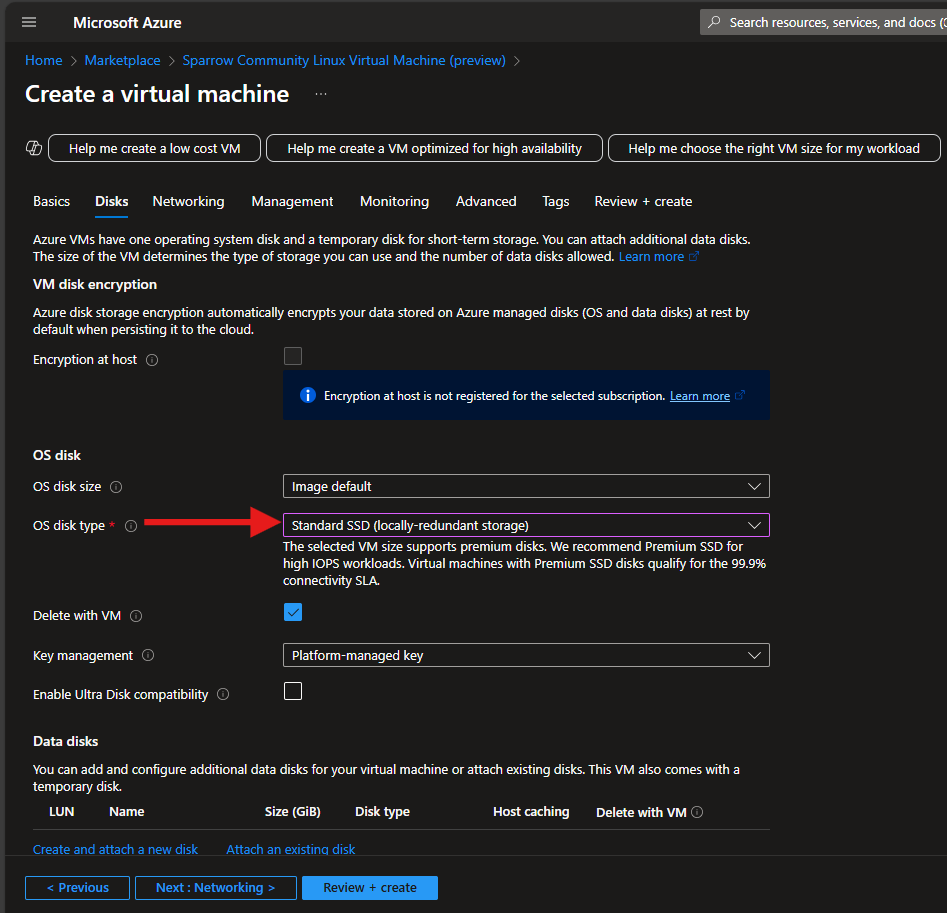
5. Configure Disks
-
Choose your preferred disk type (HDD, SSD)
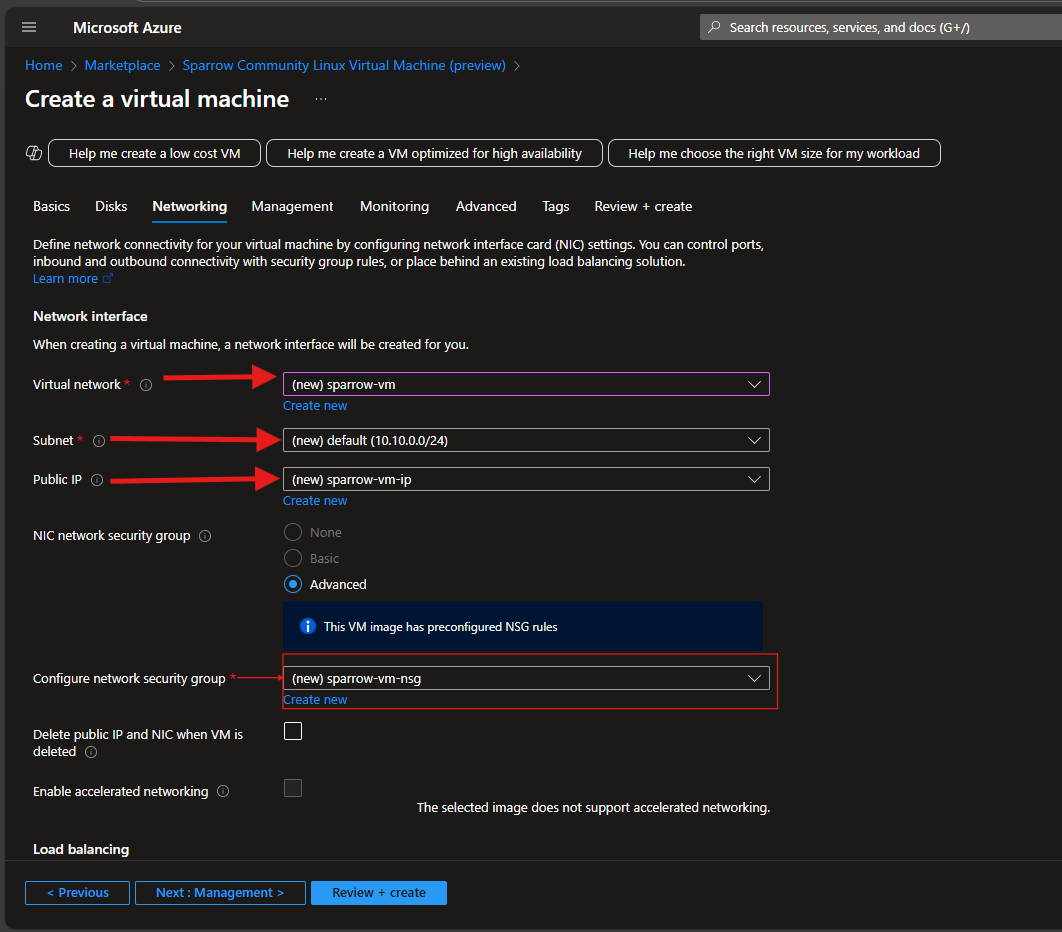
6. Networking
-
Create/select Virtual Network and Subnet
-
Enable Public IP, allow SSH & Sparrow api port (port 22 & 9000)
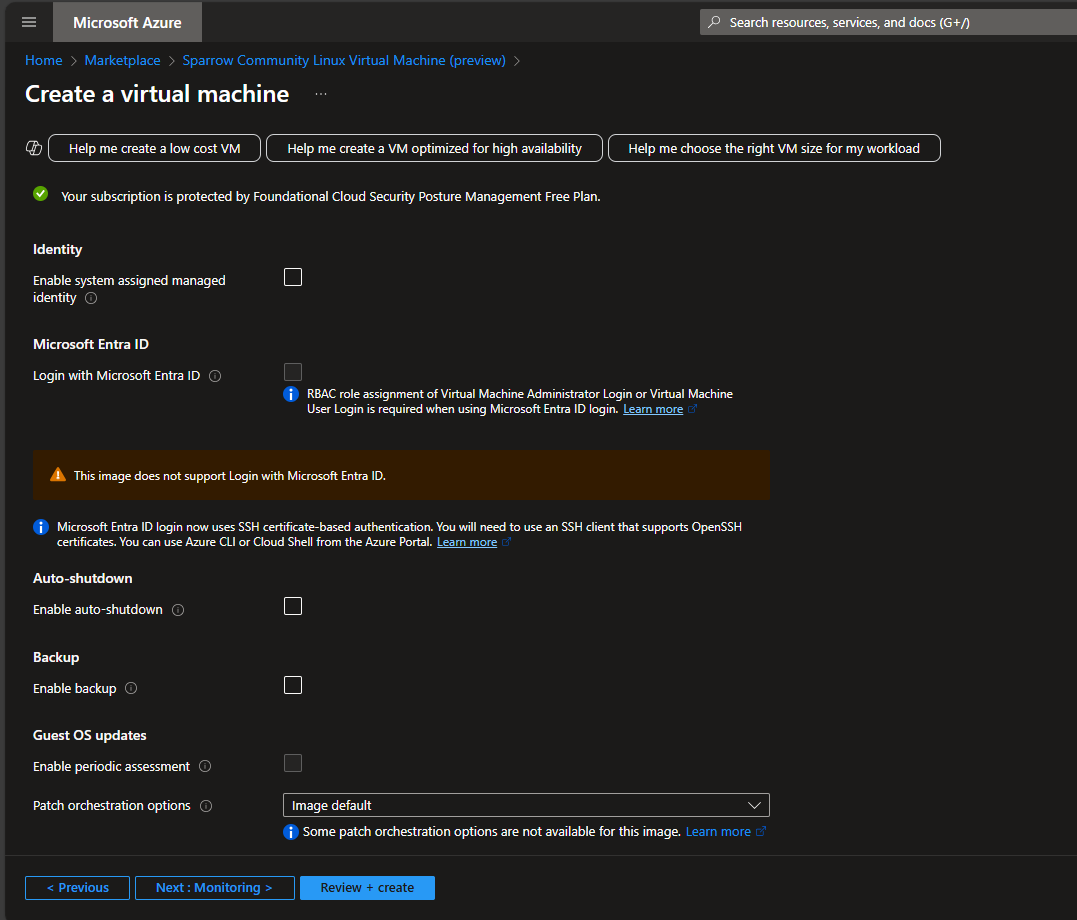
7. Management, Monitoring
-
Configure as needed or leave
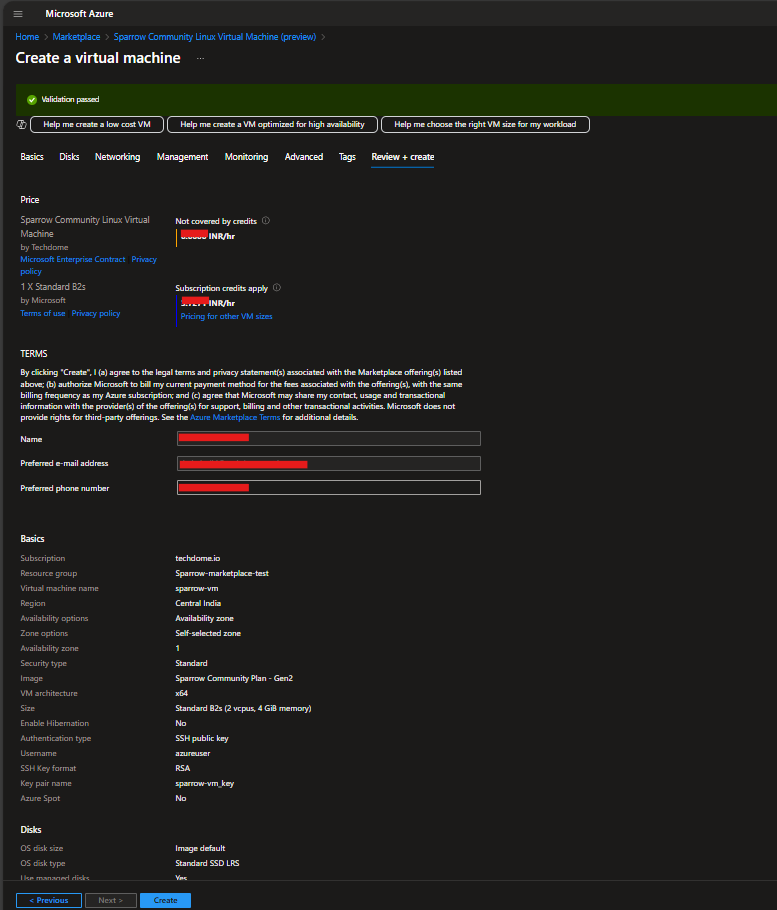
8. Review and Create
-
Review all configuration
-
Click Create to begin deployment
9. Configure Networking for Sparrow
To enable external access to the Sparrow service, you must open port 9000 in the VM's Inbound Port Rules:
-
Ensure the following ports are open in your VM’s Networking settings:
Port Purpose Protocol 9000 Sparrow Backend TCP 80 HTTP (Nginx) TCP 443 HTTPS (SSL via Certbot) TCP -
Navigate to the VM resource in the Azure Portal
-
Click on Networking
-
Under Inbound port rules, click Add inbound port rule
-
Set:
- Source: Any
- Source port ranges: *
- Destination: Any
- Destination port ranges: 9000
- Protocol: TCP
- Action: Allow
- Priority: (e.g., 1000)
- Name: Allow-9000
-
Click Add to save the rule
10. Sparrow VM is Ready
-
Once the VM is running and you configure the Newtork settings, the Sparrow backend is up and running
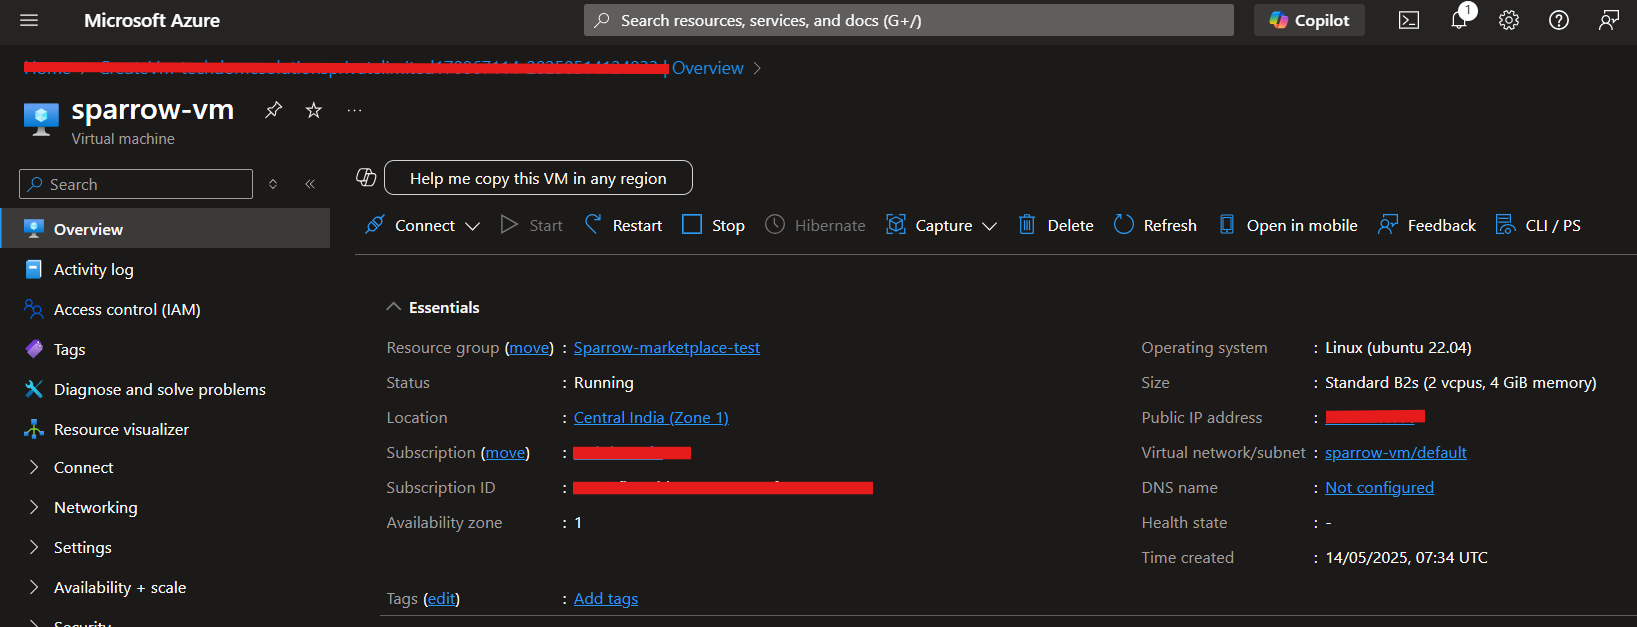 note
noteNo manual start is required. The Sparrow service is configured to run on boot.
-
You can check the health of Sparrow service using the VM's public IP and the appropriate port (e.g., http://YOUR_PUBLIC_IP:9000/health or https://YOUR_DOMAIN_NAME/health)

11. Connect to the VM
Once deployed, go to the VM resource
-
Click Connect > SSH and run:
-
ssh azureuser@public_ip
Replace public_ip with the one shown on your VM
12. Map a Domain to the VM
To map your custom domain to the VM:
- Go to your DNS provider’s dashboard (e.g., Azure DNS, GoDaddy, Namecheap, Cloudflare)
- Create an A record pointing to the public IP of the VM:
- Host: @ (or your subdomain)
- Type: A
- Value: YOUR_VM_PUBLIC_IP
- TTL: Automatic or 3600 seconds
Wait for DNS propagation (can take up to 24 hours, usually faster)
13. Configure Nginx on the VM
Configure Nginx to act as a reverse proxy for the Sparrow backend:
-
Open the configuration file
 cd /etc/nginx/sites-available/
 nano sparrow
update the server name with your domain name (which you created at step no.12) as mentioned in image
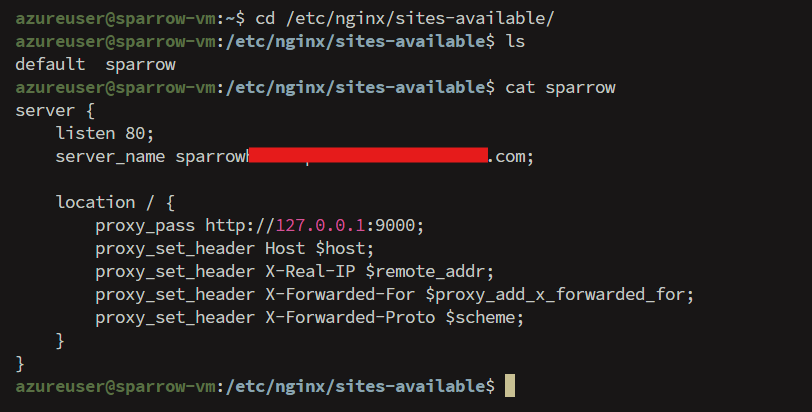
- Enable the configuration and restart Nginx:
sudo nginx -t
sudo systemctl restart nginx
14. Obtain an SSL Certificate with Certbot
To secure your domain with HTTPS, Certbot is already installed in VM and obtain a free SSL certificate from Let's Encrypt:
-
Run below cmd:
sudo certbot --nginx -d YOUR_DOMAIN_NAME
Follow the on-screen instructions. Certbot will:
- Obtain a certificate
- Update your Nginx config
- Reload Nginx
Verifying Certbot Auto-Renewal
Let’s Encrypt certificates expire every 90 days. Certbot automatically sets up a systemd timer to renew certificates within 30 days of expiration.
-
To check the status of the timer:
sudo systemctl status certbot.timer -
To test the renewal process, you can do a dry run with certbot:
sudo certbot renew --dry-run
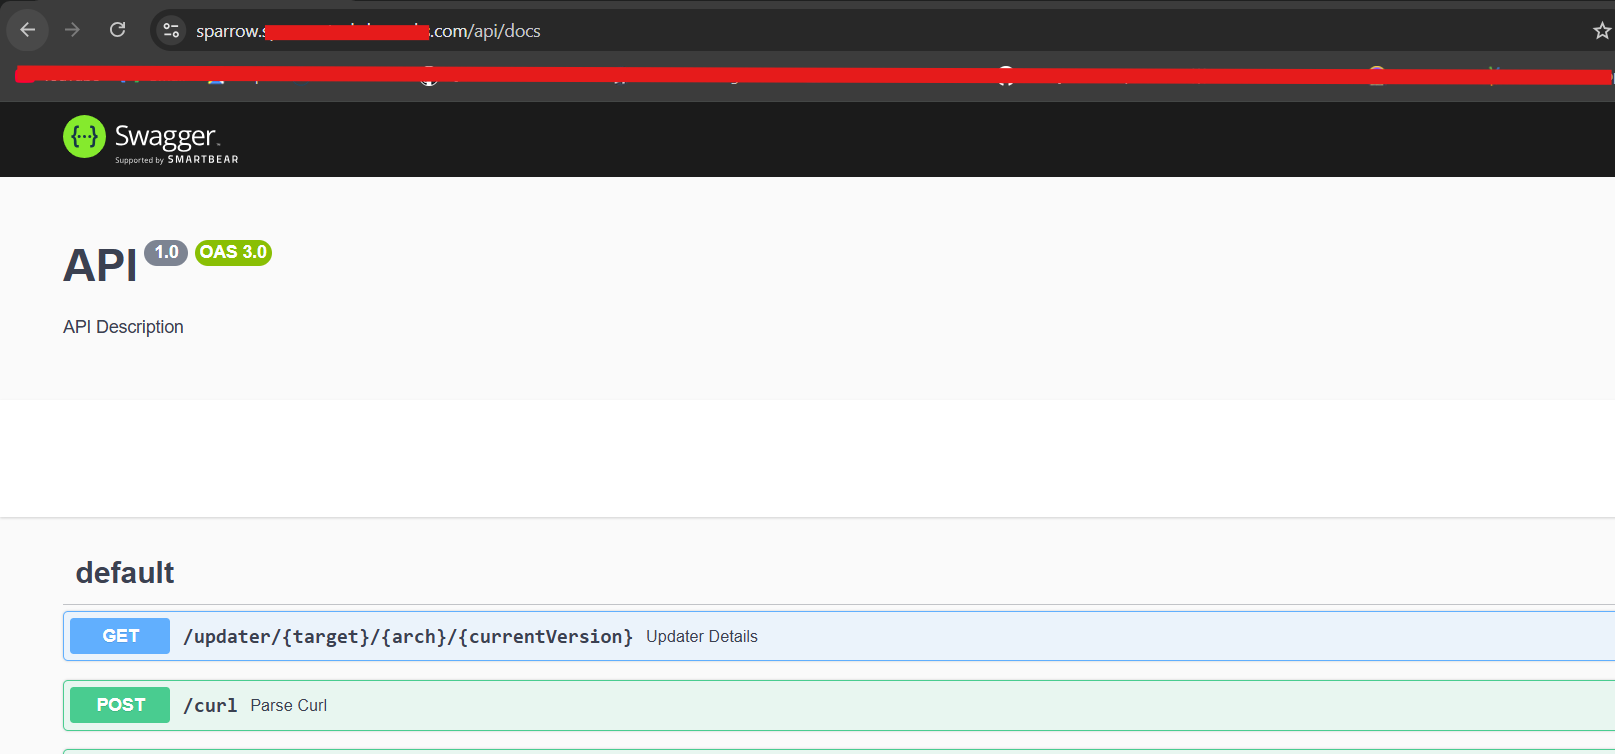
Verify that HTTPS is working by visiting: https://YOUR_DOMAIN_NAME/api/docs
Support
If you encounter issues:
- Contact Sparrow Community support at: contactus@sparrowapp.dev
🎉 Congratulations! You’ve successfully deployed Sparrow with a secure domain. Happy computing!