User Management
Overview
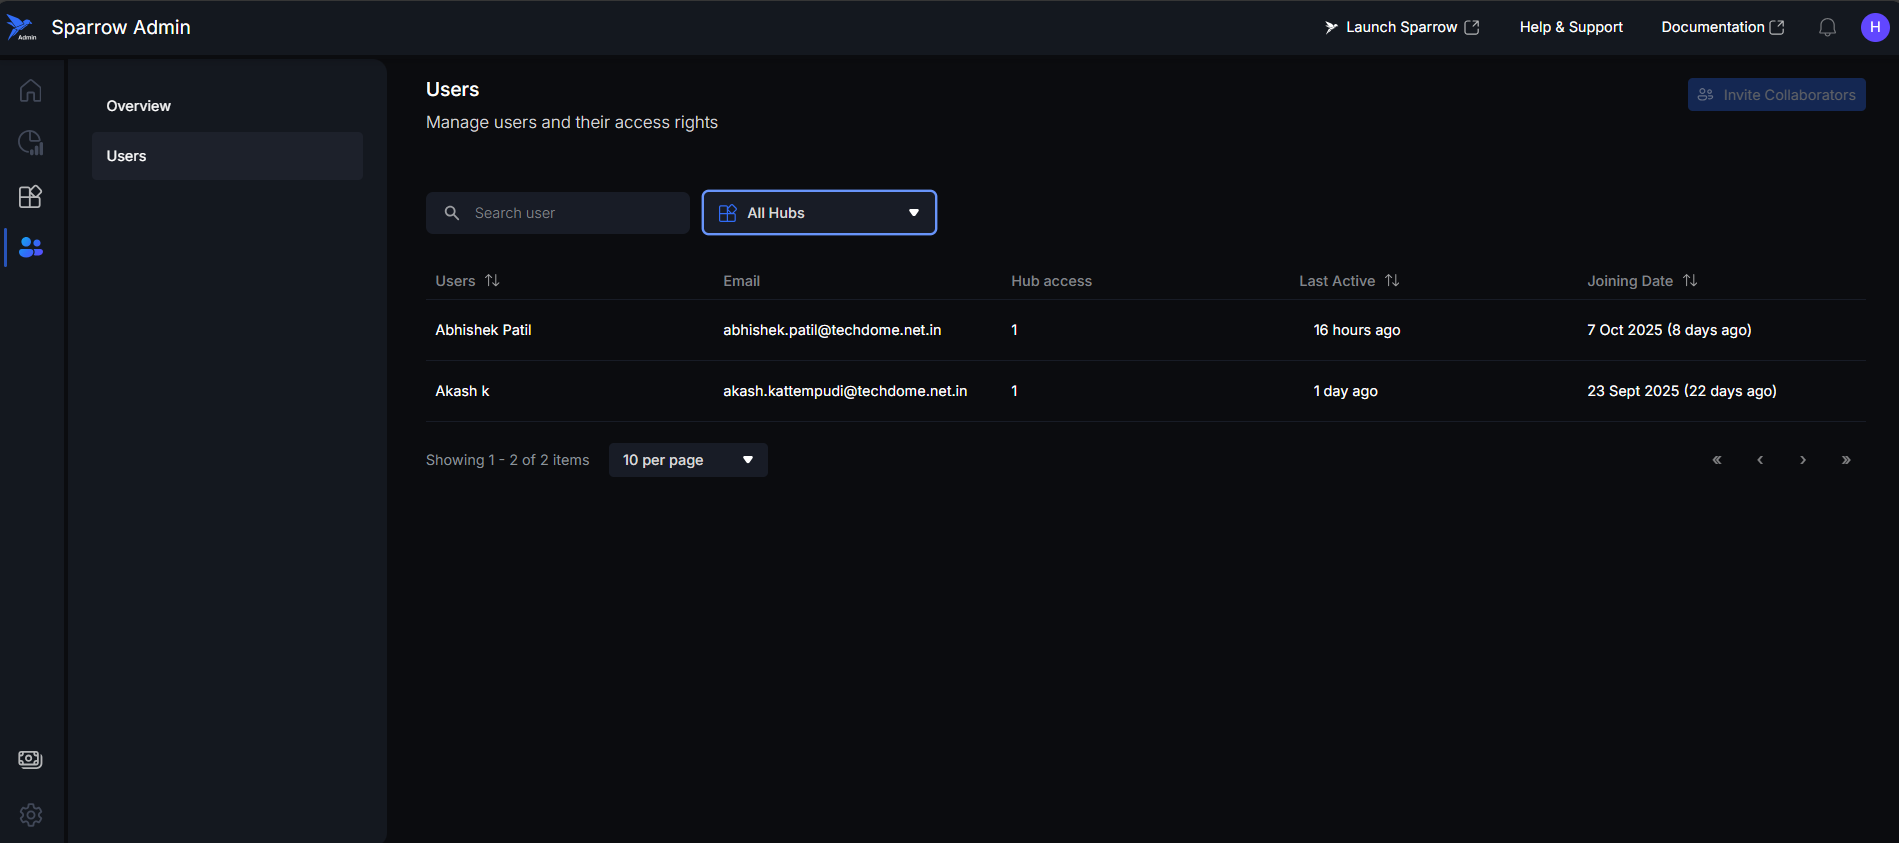
The Users page provides administrators with tools to view, search, filter, and manage all users across the organization. This interface allows admins to monitor user activity, hub access, and invite new collaborators.
Access: Navigate to Sparrow Admin → Users from the left sidebar
Components
- Invite Collaborators button (top-right) - Opens invite dialog to add new users to the organization.
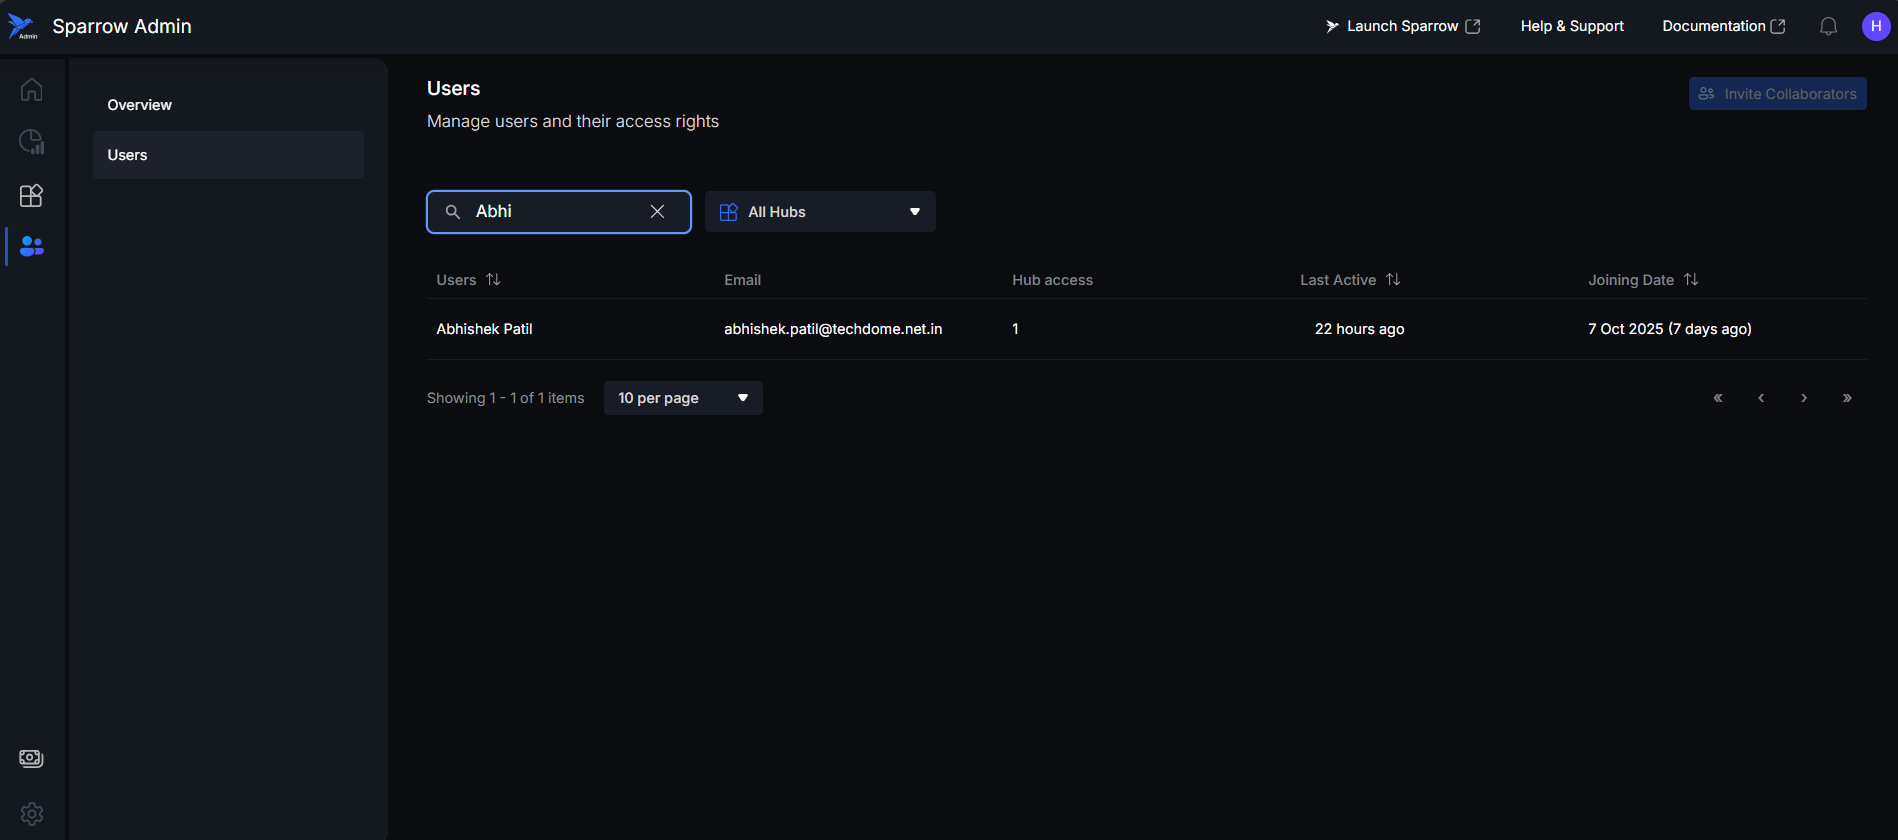
- Search and Filter Control: Search the user by name. When you want to search for a User in the list, you can use the search bar to type the name and find the user.
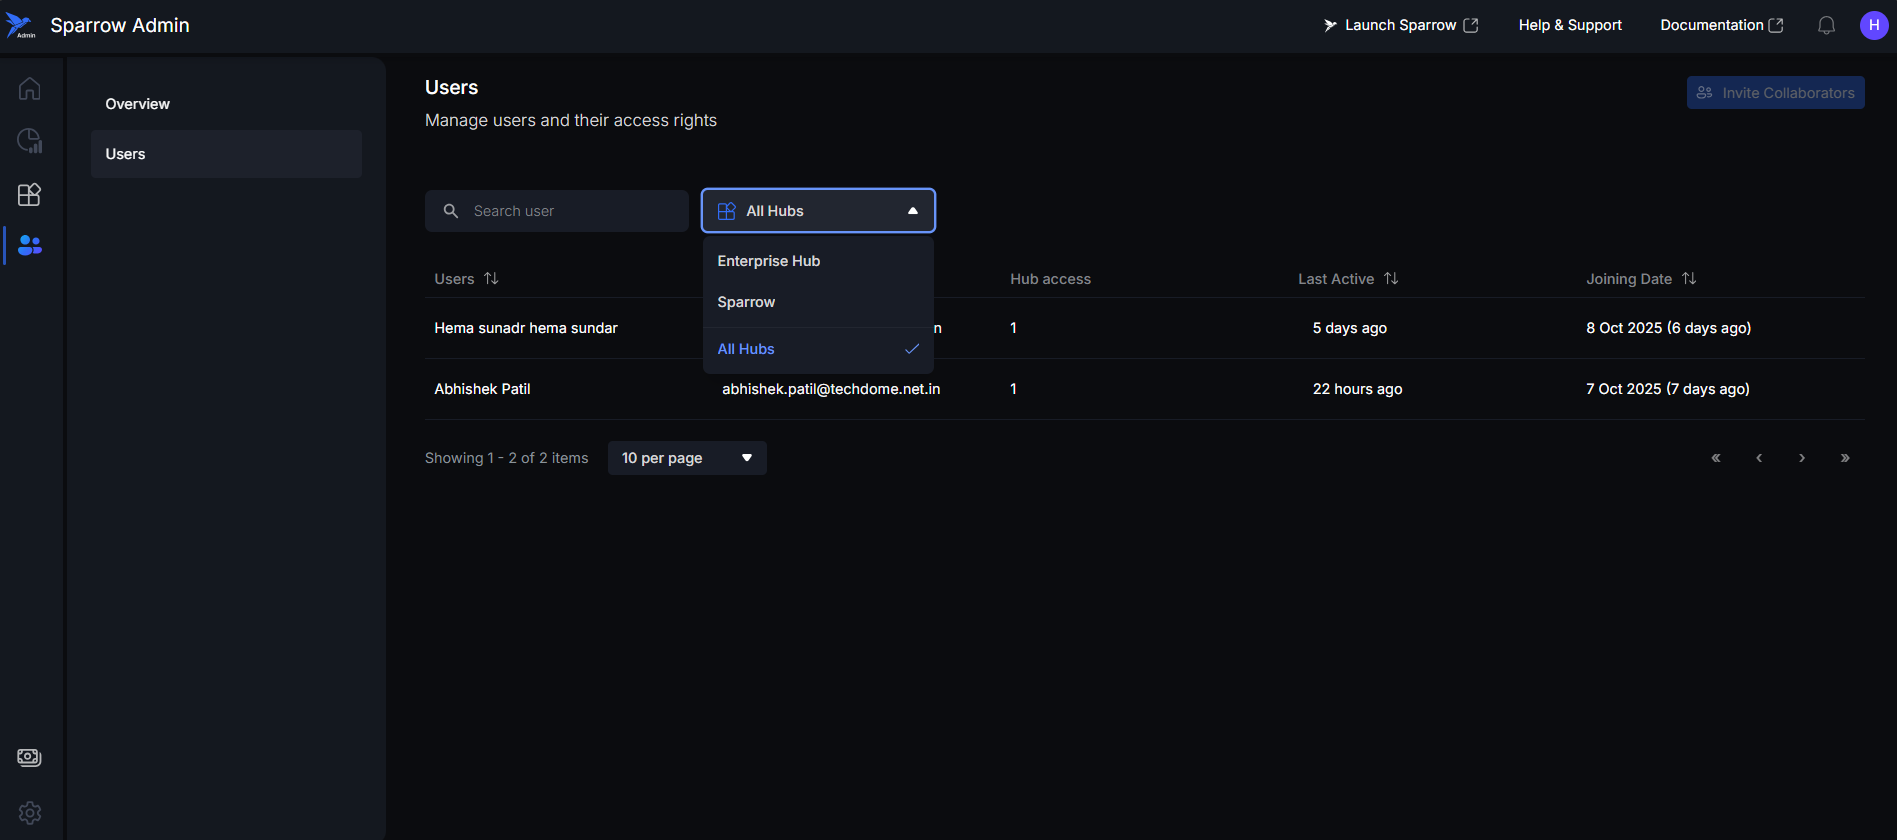
- Hub Filter: Dropdown menu to select hubs. On clicking on All hubs drop down, you can see all the Hubs listed under the user account. You can select one to see the Users of that Particular Hub.
List View Components
| Column | Description |
|---|---|
| Users (Sortable) | Displays user's full name, Primary identifier for each user and Click column header to sort alphabetically |
| Registered email address used for login and notifications | |
| Hub Access | Number indicating how many hubs/workspaces the user has access to. |
| Last Active (Sortable) | Shows when the user last accessed the platform, click column header to sort by activity |
| Joining Date (Sortable) | Absolute date when user joined the organization. Shows both exact date and relative time |
User Management Actions
To manage a specific user's system permissions and access, click on the User's Name (e.g., Emily Martinez).
Step 1: Access User Details
Hover over the User details you want to check and click on the user in the list.

This action directs you to the User Access Page, which provides a comprehensive overview of that user's standing and privileges. On this page, you will find:
- The user's contact information, including their email address.
- A list view of all Hubs the user currently has access to.
For each hub listed, the following key details are visible:
- Role in that particular hub: Defines their permissions level (e.g., Admin, Editor, Viewer).
- Last active status: Shows when the user last accessed that specific hub.
- Joining date: The date the user was first granted access to the hub.
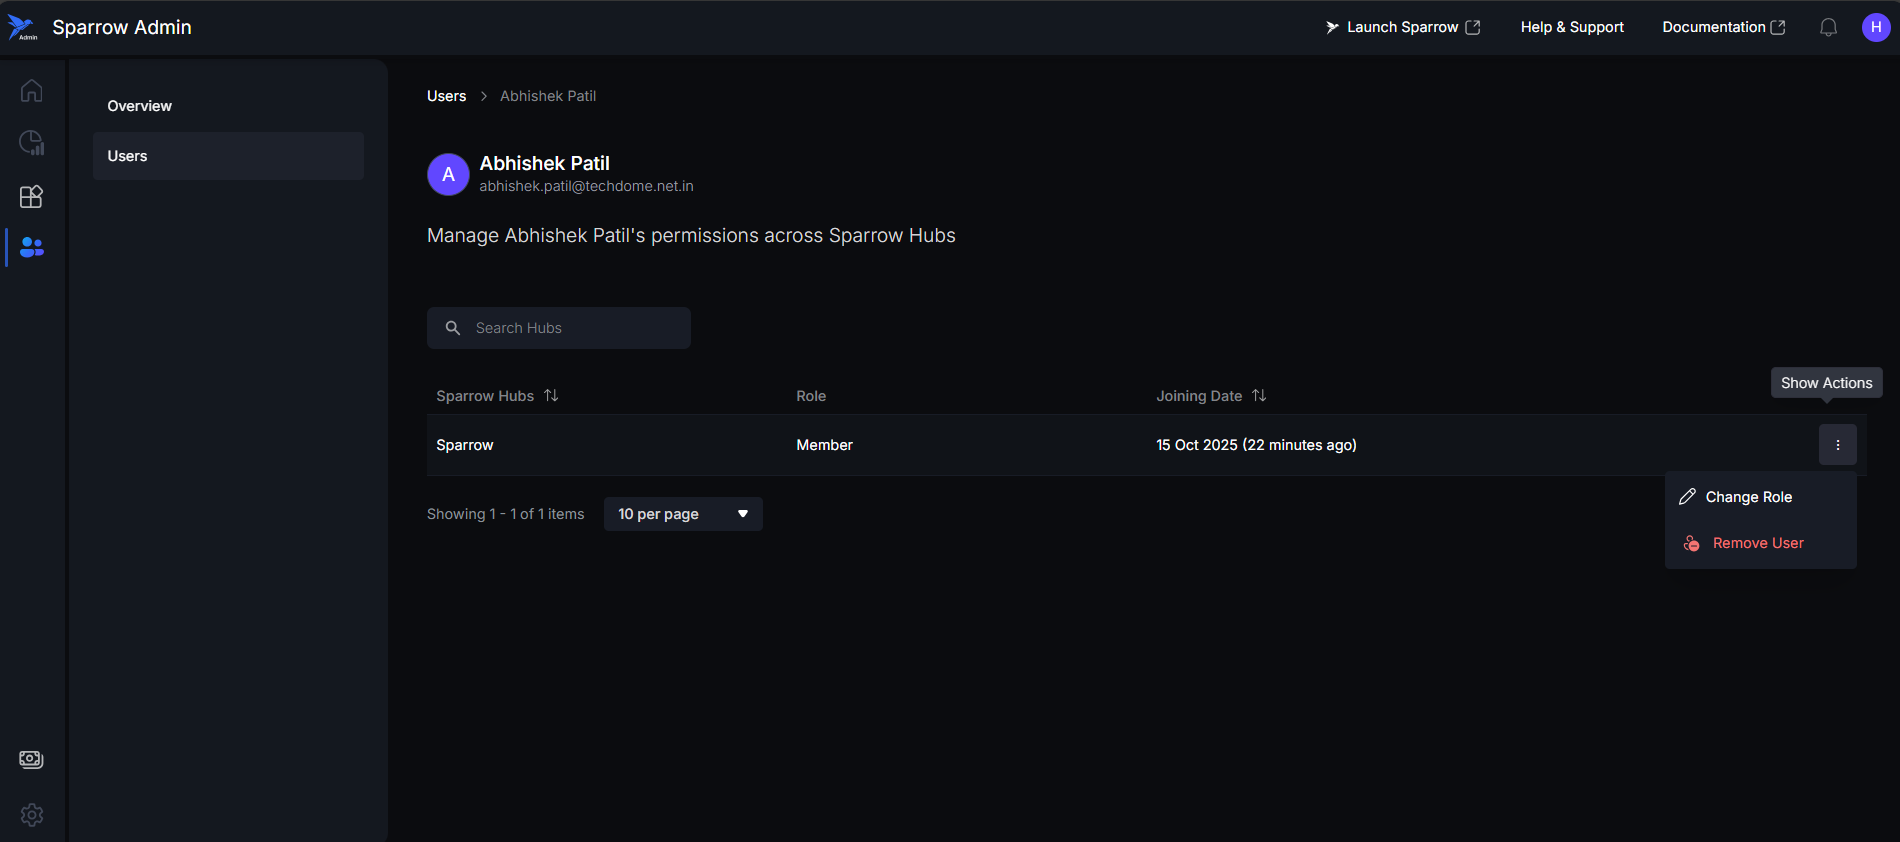
Step 2: Access the Actions Menu
Click on the 3 dots menu to edit the User settings of a particular hub by hovering on it. You can see Change Role and Remove User.
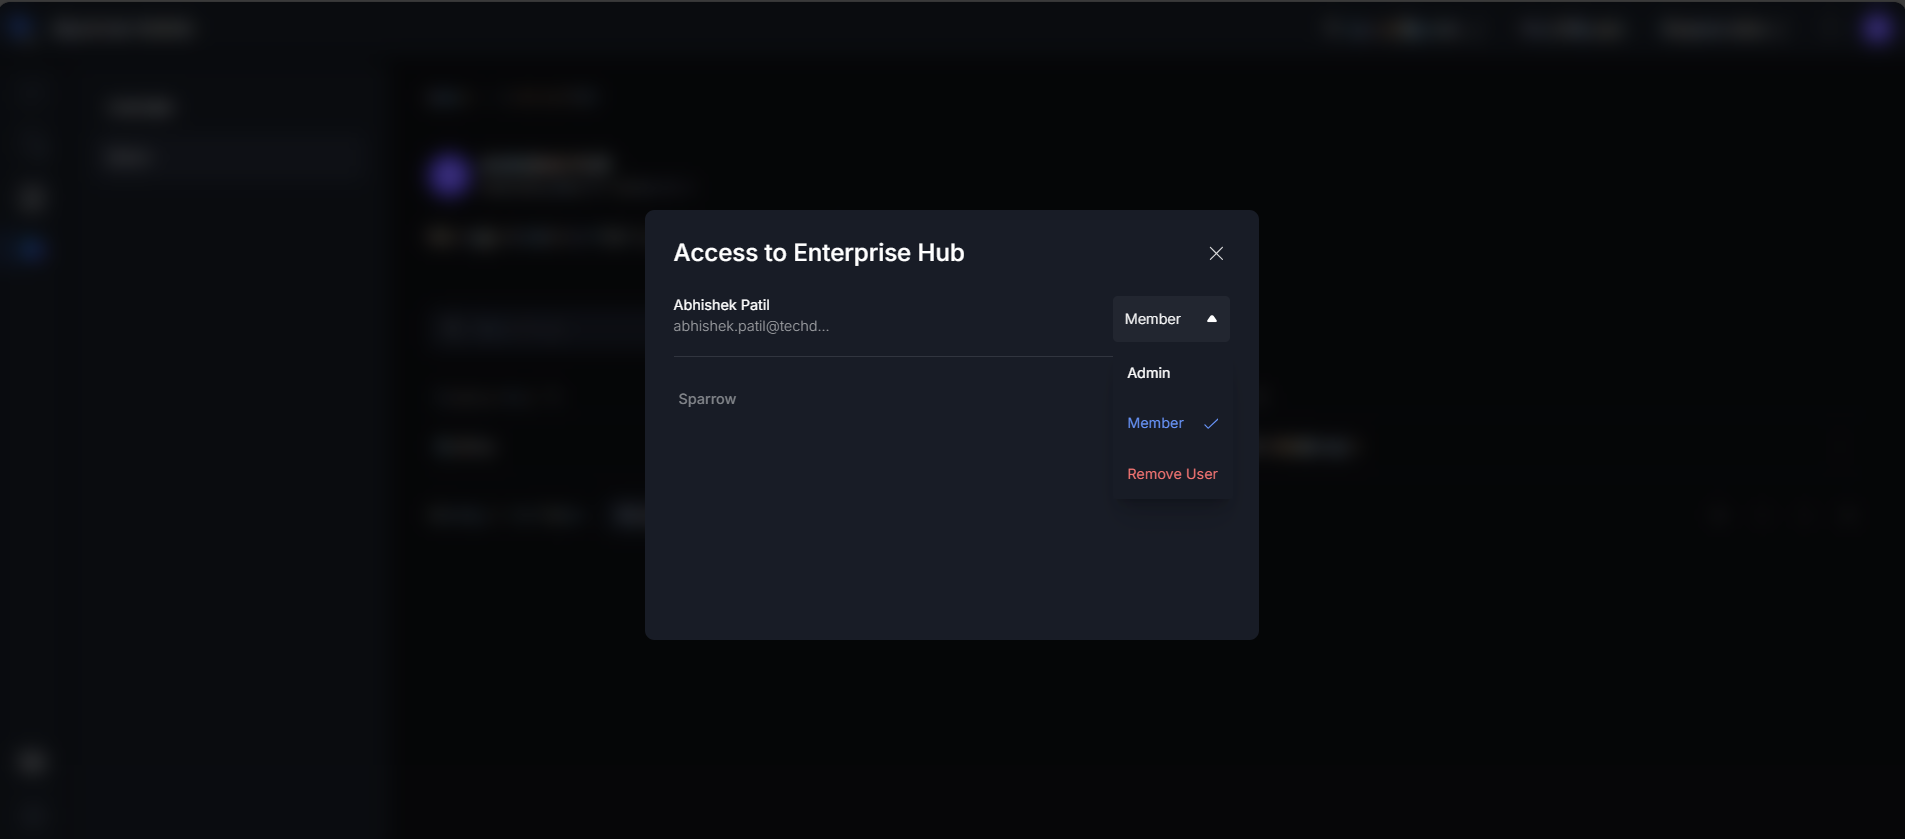
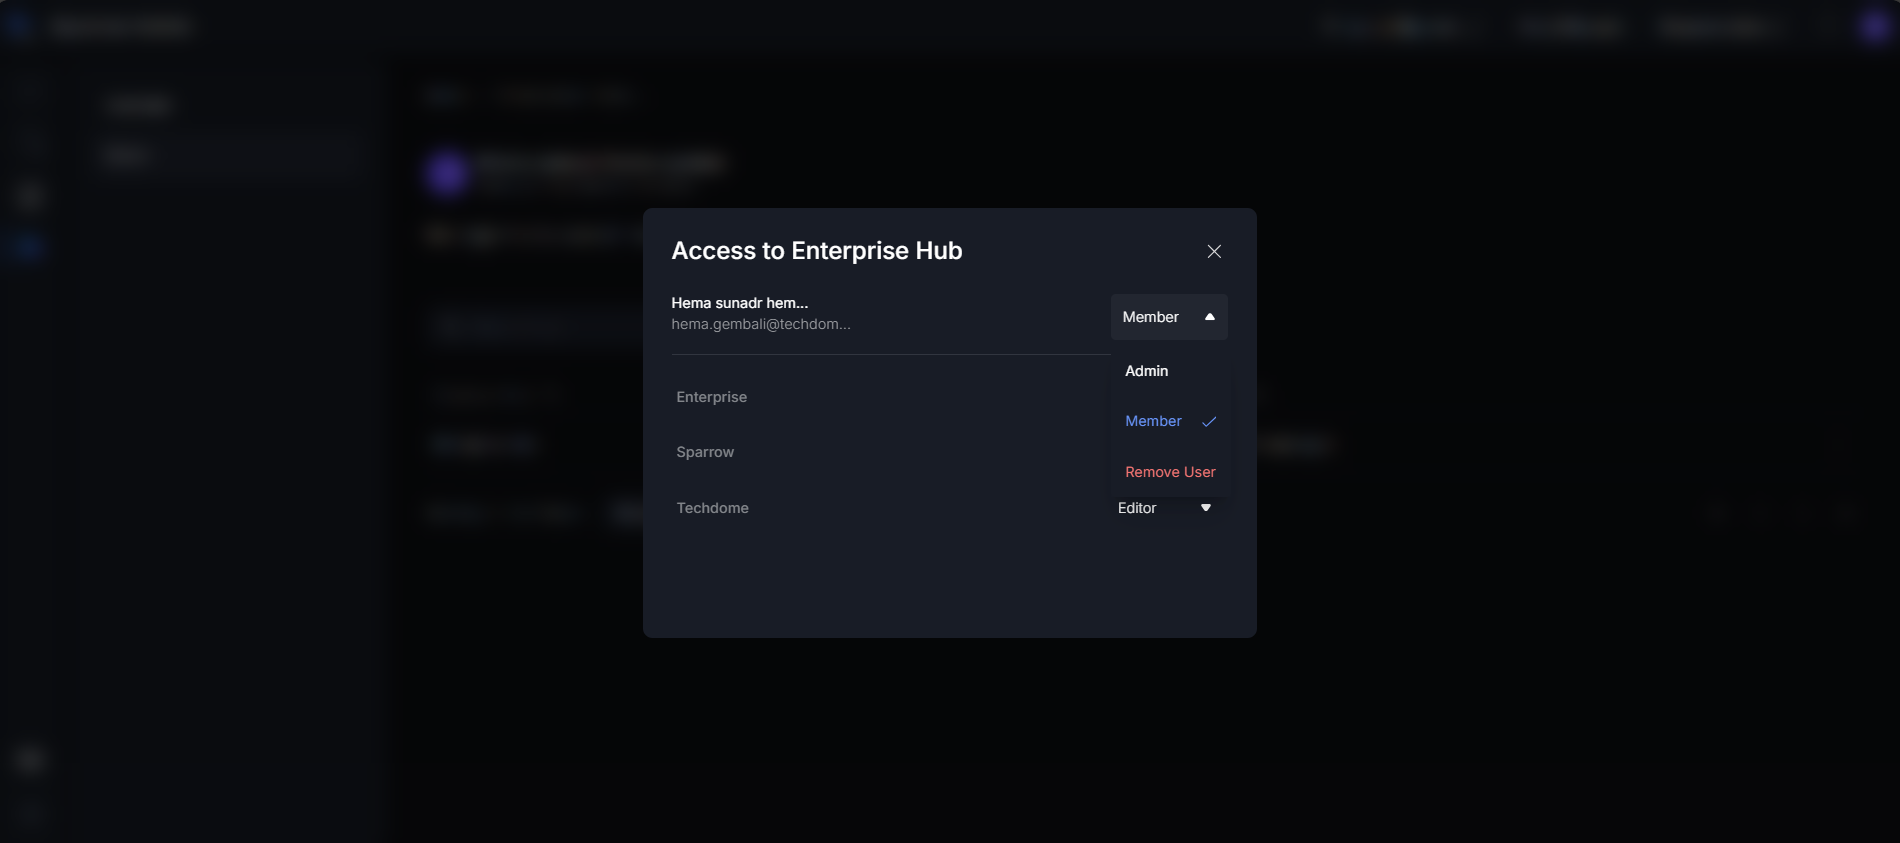
Change Role
Step 3: Click on change role. You can see a modal appeared, where you can edit the role of the user. You can make the Admin to Member/ Member to Admin. An Admin can change the User roles.
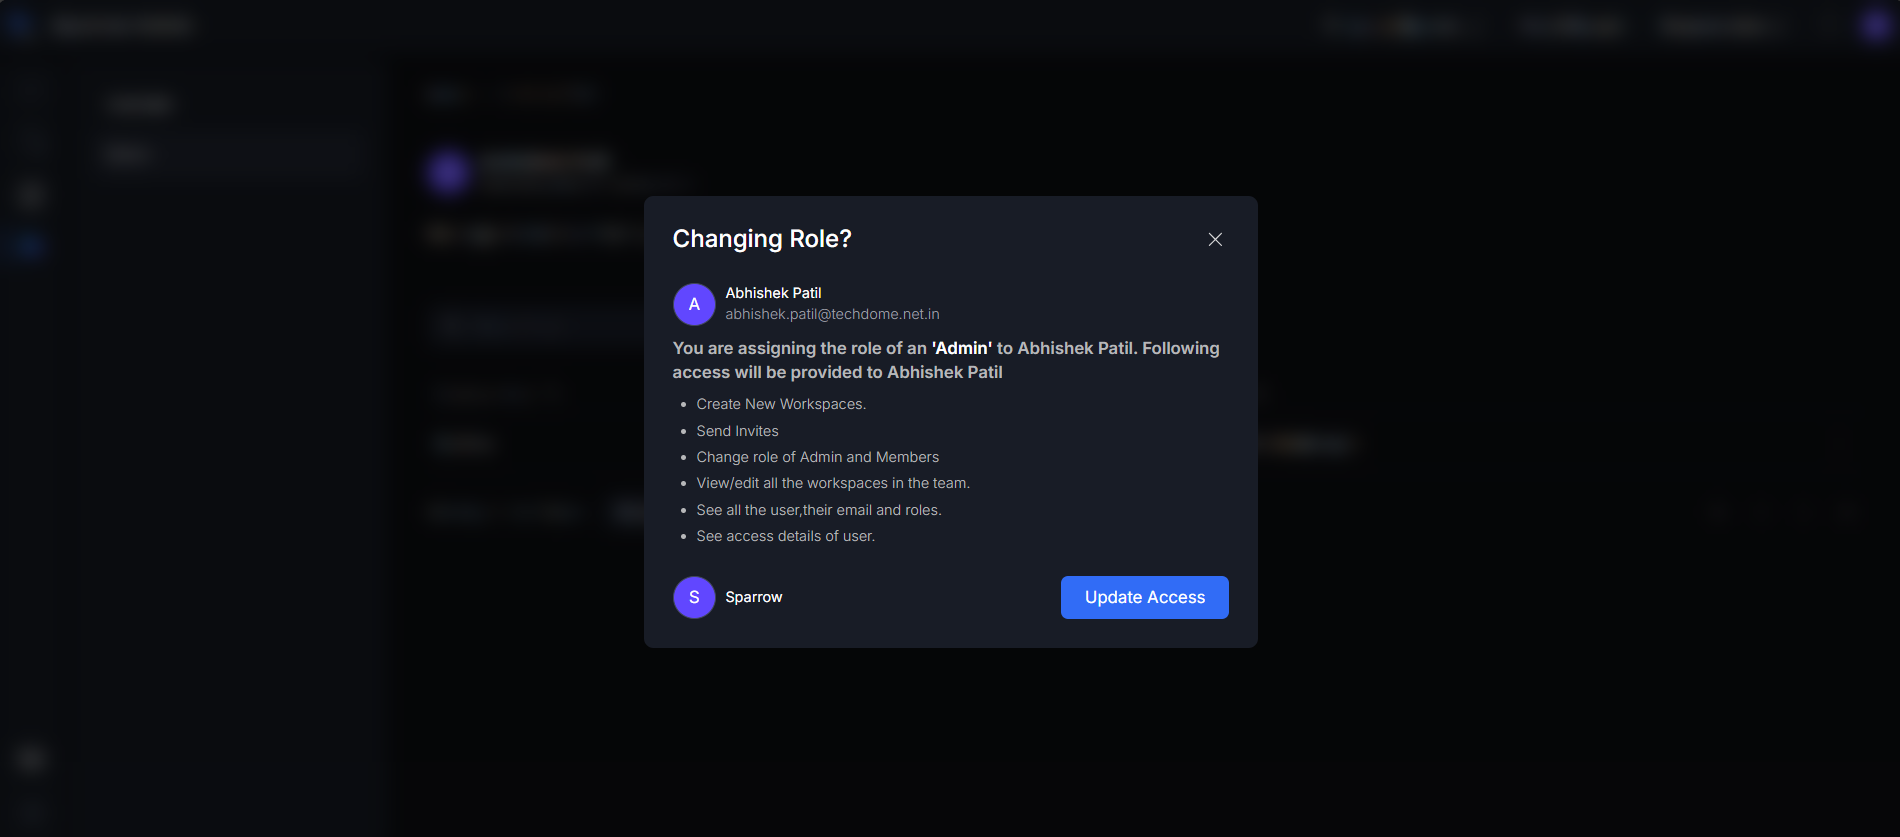
Step 4: You will get a confirmation modal, it shows the username, his email and description of changing the role. Upon clicking on the Update Access your request is processed.
*When the User getting his role changed from Member to Admin, you will get this Pop up. All the access the user is going to get by getting his role changed to Admin from Member.
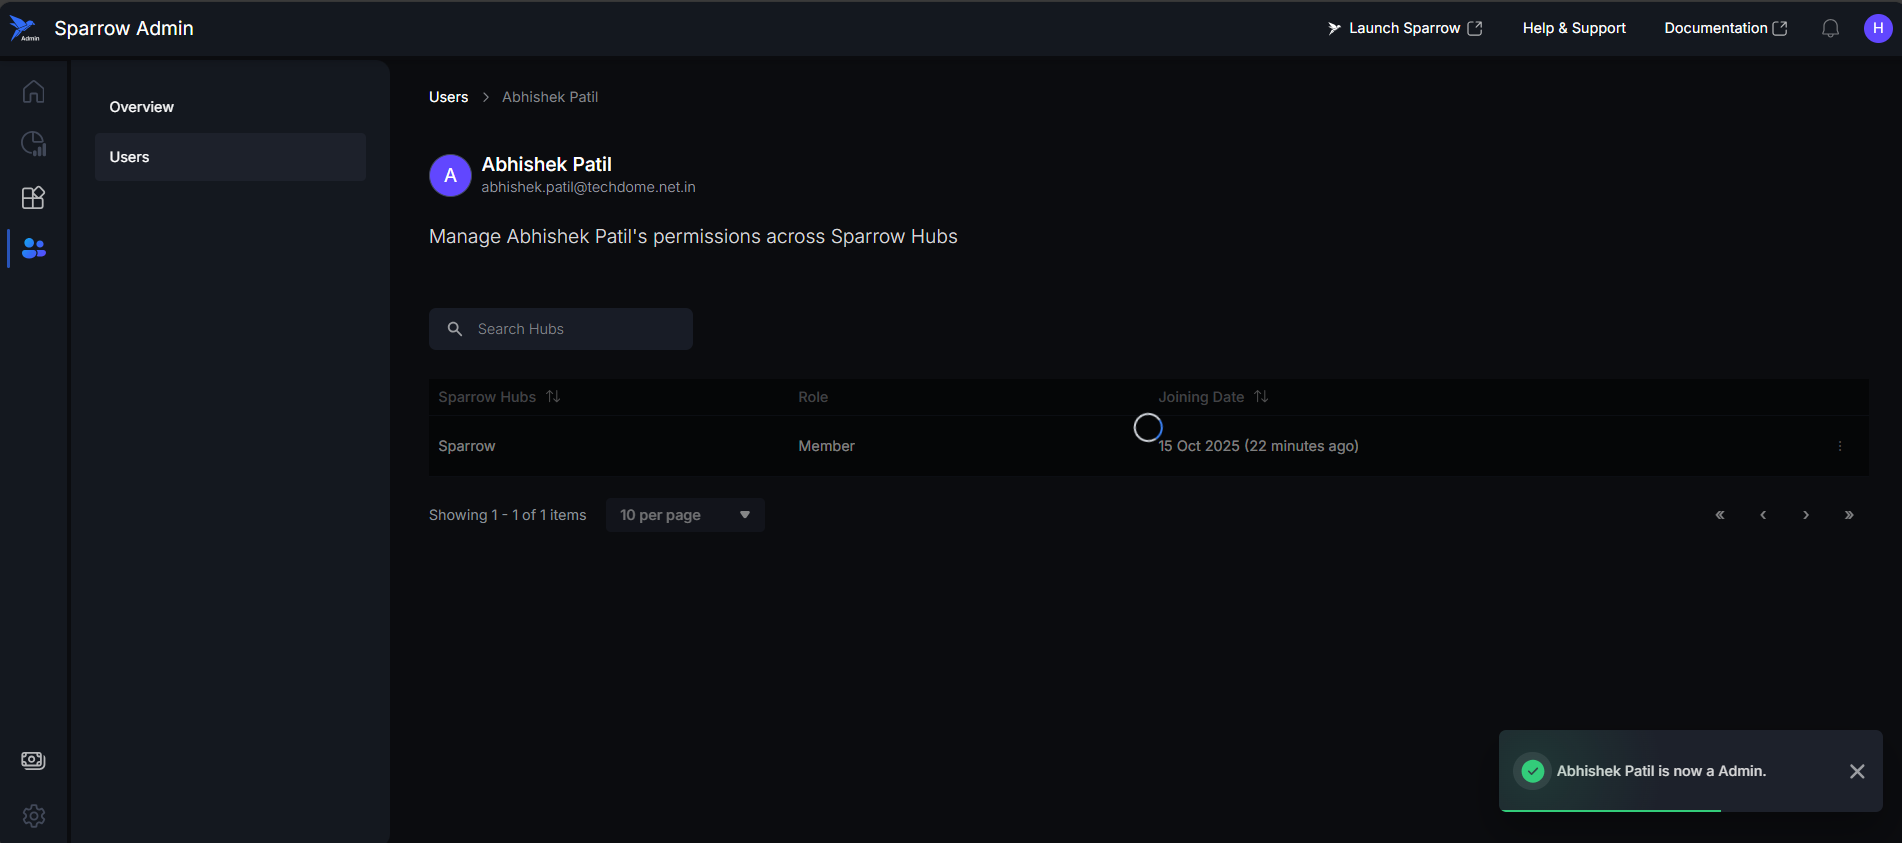
Step 5: Upon successfully updating the User role, a confirmation message (a "toast" notification) will briefly appear on the screen.
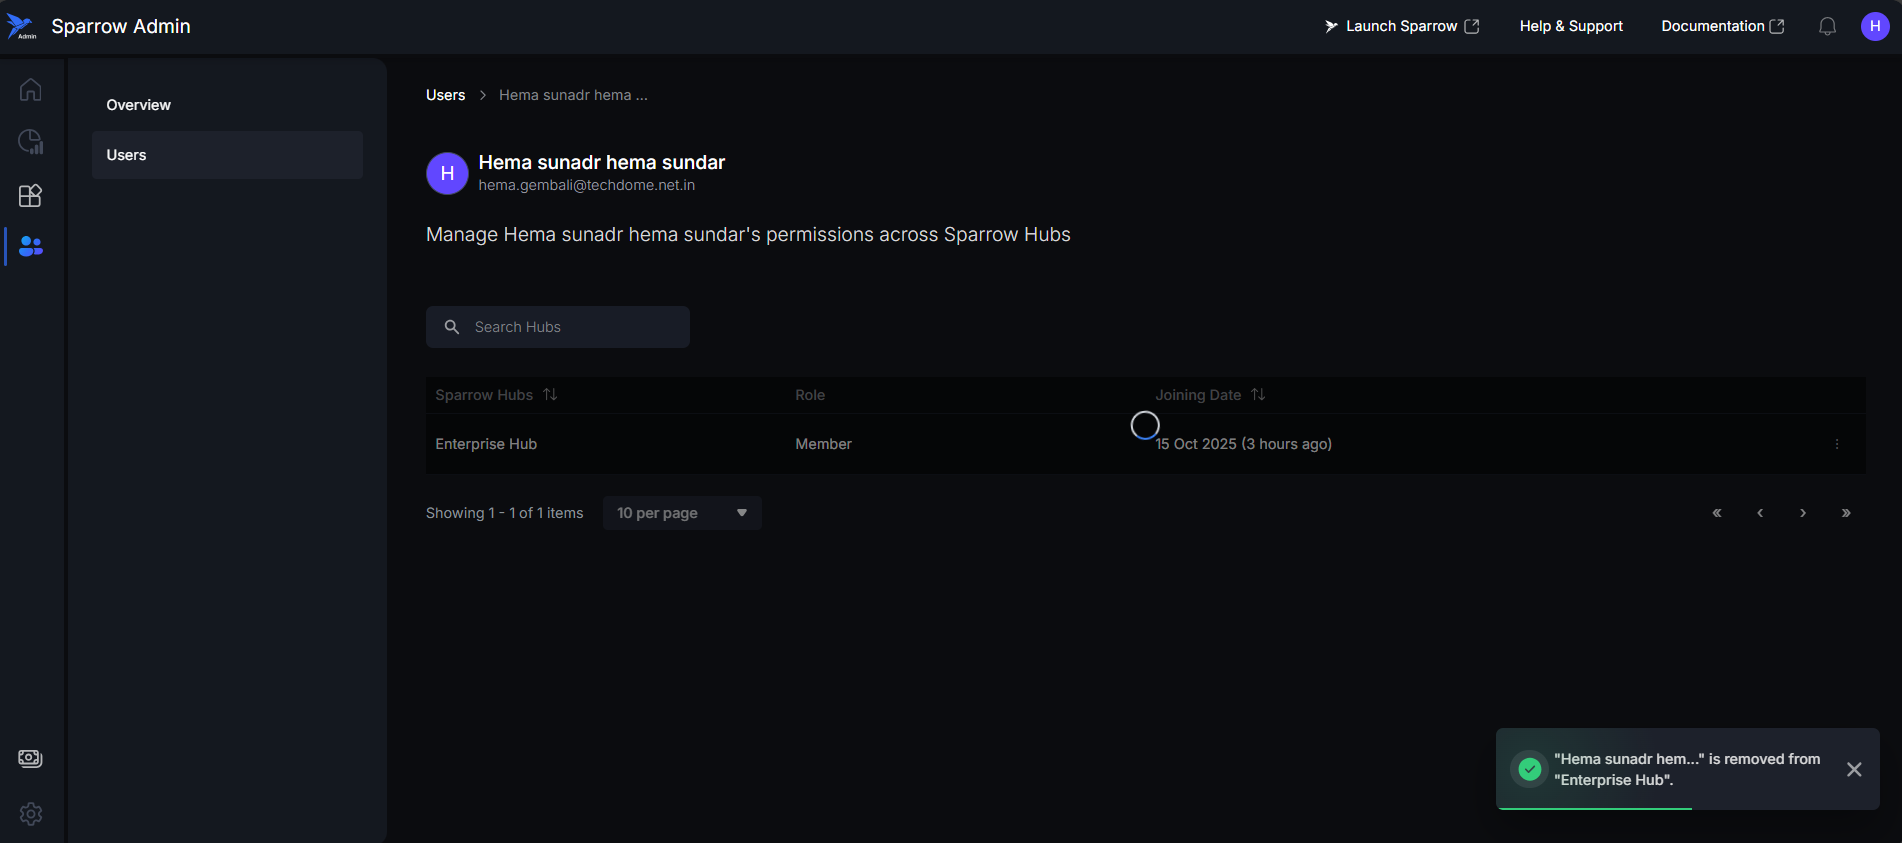
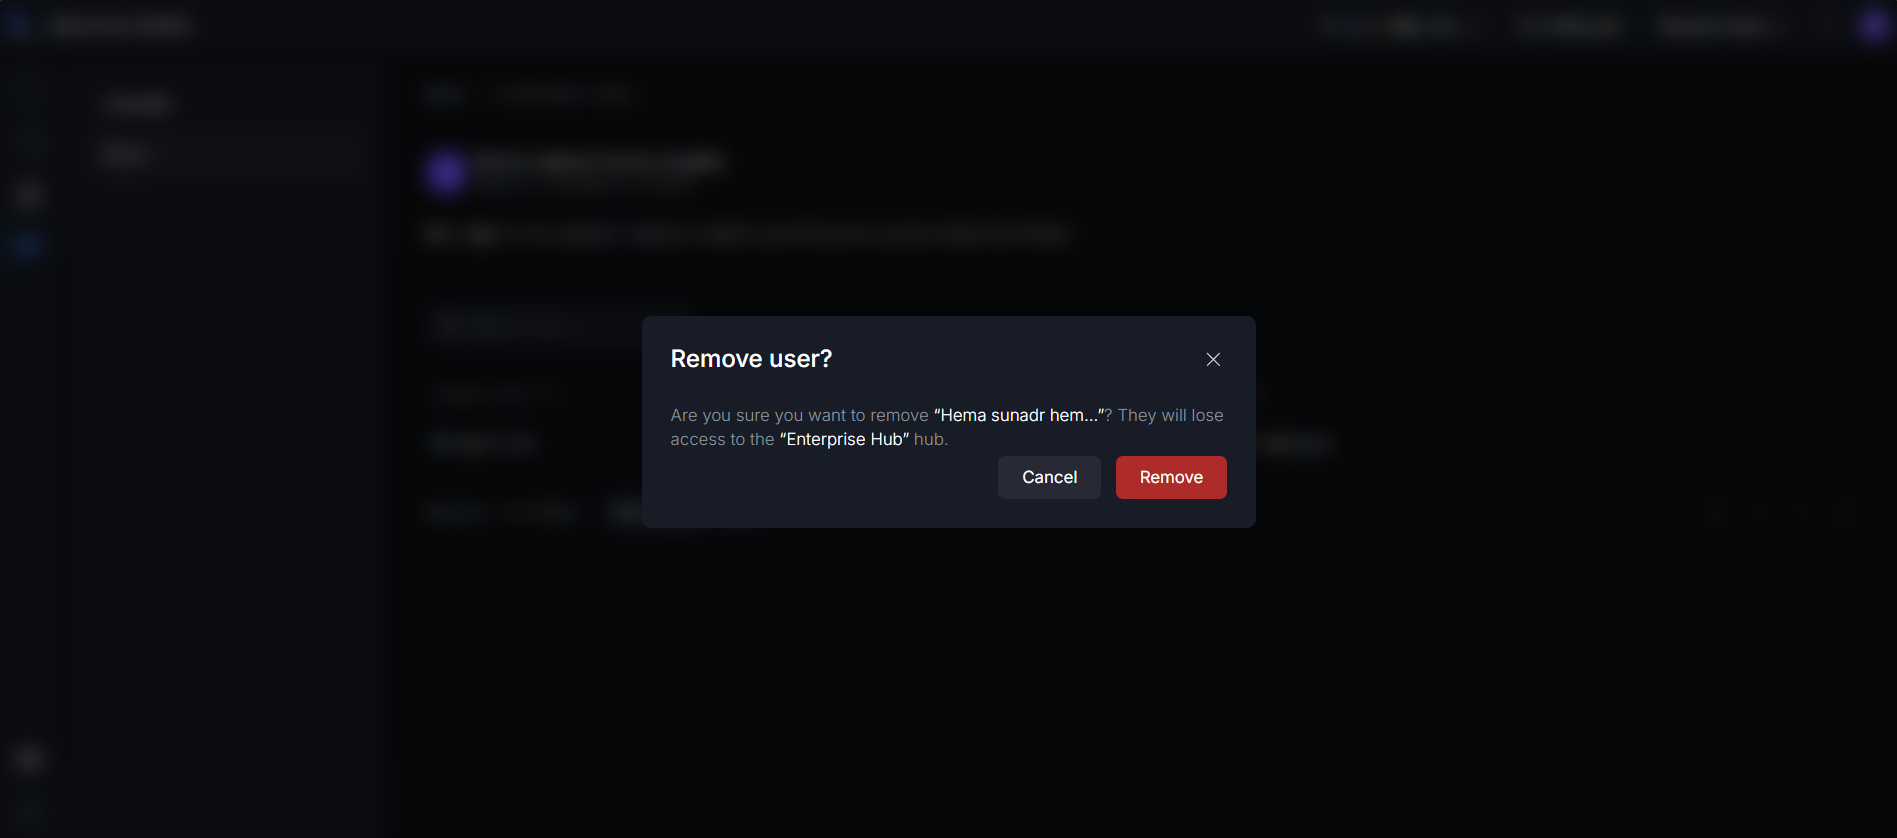
Remove User
Step 1: Click on the Remove user from the 3 dots menu present on the List view of User’s Hubs /From the Change role modal.
Step 2: A Pop up appears with confirmation for the Remove User. On clicking on Remove the User gets removed from the Hub. Clicking on Cancel, to not remove the User.
Step 3: Successful toast appears at the bottom of the Window. If the User is not removed, try again to remove the User.