Creating Your First Workspace in Sparrow
Workspaces in Sparrow provide a structured way to manage API projects, organize collections, and collaborate with your team. Creating your first workspace is the initial step to begin building and testing APIs efficiently.
Steps to Create a Workspace
-
Login to Sparrow
Begin by logging in to your Sparrow account using your credentials. If you don’t have an account, you’ll need to sign up first. -
Navigate to Workspaces
From the dashboard, locate the “Home” tab on the sidebar. -
Click “Create Workspace”
Select the “+ New Workspace” button. This will open a workspace about page to define the new workspace’s details.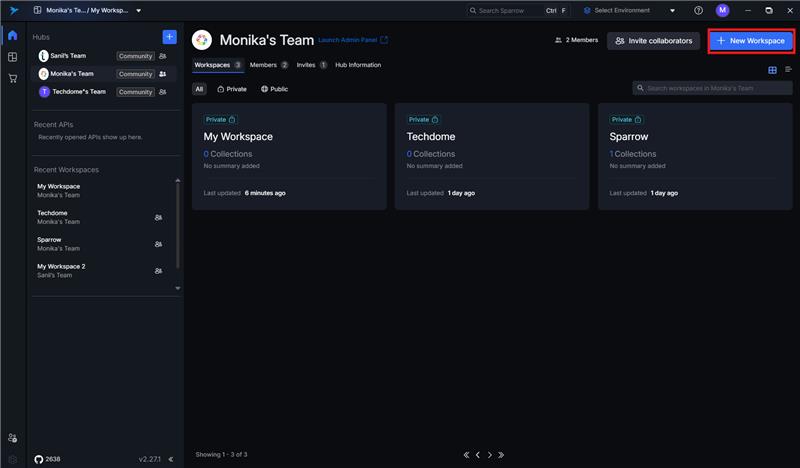
-
Enter Workspace Details
Provide the necessary information:- Workspace Name: A descriptive title (e.g., “Payment Gateway API”)
- Description (optional): Brief summary of what the workspace is for
- Workspace Type: Choose between:
- Private Workspace – Accessible only to you and workspace members
- Public Workspace – Accessible to all Sparrow users
-
Click “Save”
After filling out the required information, click “Save” to finalize and generate your workspace.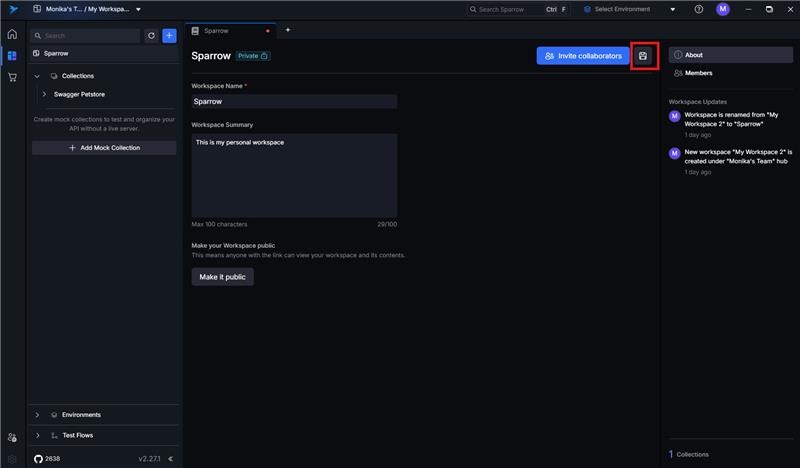
What Happens Next?
- Your workspace is now live and accessible from your dashboard.
- You can start adding collections, importing API specs, and configuring environments.
- For team workspaces, invited members will receive an email notification to join.
Tips for Effective Workspace Management
- Use meaningful names for easy identification.
- Organize collections by project or module.
- Keep separate workspaces for different environments (e.g., QA, Production).
- Regularly review workspace members and their access levels.